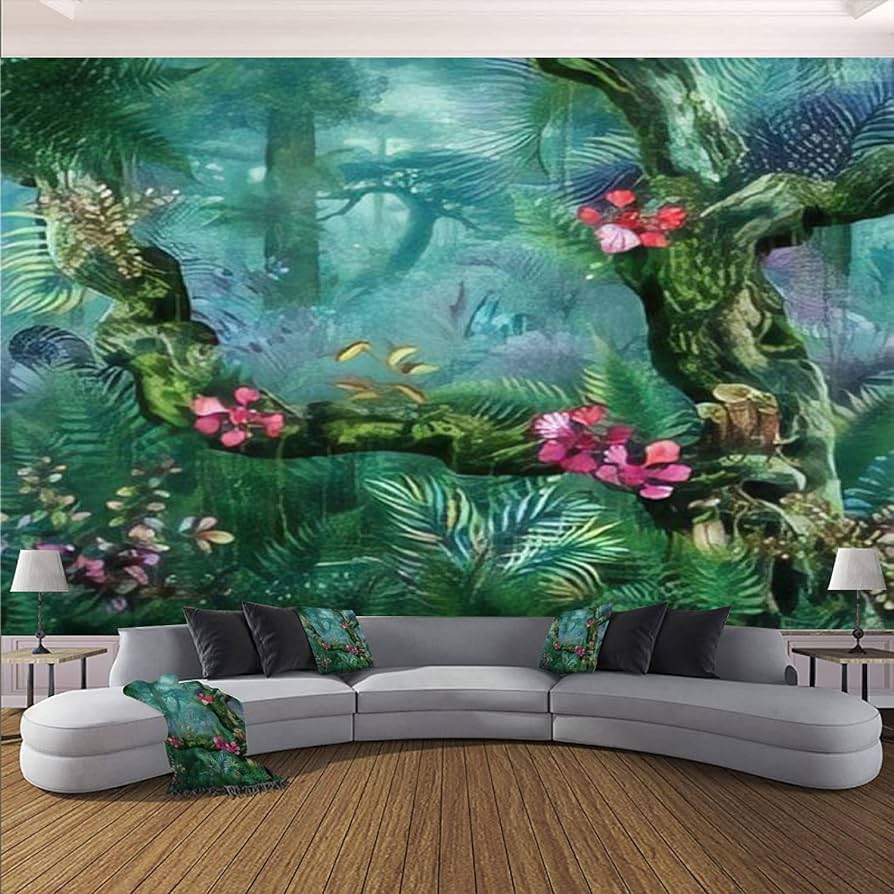
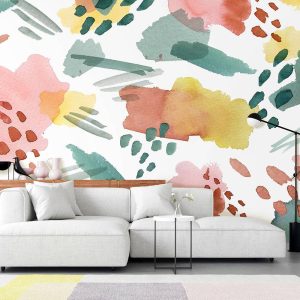
Peel and stick murals are a fantastic way to transform any space quickly and easily. They offer a unique opportunity to personalize your environment with minimal effort. Incorporating text and graphics into your mural design can elevate the aesthetic appeal and make a bold statement. This article will guide you through the process of designing and installing a peel and stick mural that combines text and graphics seamlessly.
II. Understanding Peel and Stick Murals
What Are Peel and Stick Murals?
Peel and stick murals are large-scale wall decals made from materials like vinyl or fabric. They are designed to be easily applied and removed without damaging the wall surface. These murals are perfect for renters or anyone looking to update their decor without a long-term commitment.
Benefits of Peel and Stick Murals
- Easy Installation: No need for glue or paste.
- Removable and Reusable: Can be repositioned or removed without leaving residue.
- Versatile: Suitable for various surfaces like walls, furniture, and even floors.
- Customizable: Available in a wide range of designs and can be personalized.
Types of Materials
| Material | Description | Pros | Cons |
|---|---|---|---|
| Vinyl | Durable and waterproof | Easy to clean, long-lasting | Can be less breathable |
| Fabric | Soft and textured | Eco-friendly, breathable | May be less durable |
Common Applications
- Home Decor: Living rooms, bedrooms, nurseries
- Office Spaces: Conference rooms, reception areas
- Events: Weddings, parties, exhibitions
III. Planning Your Mural Design
Choosing the Right Wall and Space
Selecting the right wall is crucial for the success of your mural. Consider walls that are free from obstructions like windows and doors. Ensure the wall surface is smooth and clean for the best adhesion.
Measuring the Wall and Planning Dimensions
Accurate measurements are essential. Use a tape measure to determine the height and width of the wall. Plan your mural dimensions accordingly to ensure a perfect fit.
Selecting a Theme or Concept
Choose a theme that complements the room’s decor. Popular themes include nature, abstract art, cityscapes, and inspirational quotes. Your theme will guide the selection of text and graphics.
IV. Incorporating Text into Your Mural
Selecting Fonts and Sizes
Choose fonts that are easy to read from a distance. Sans-serif fonts like Arial or Helvetica are great for readability. Ensure the text size is appropriate for the wall size.
Choosing Colors
Select colors that complement the overall design. Use contrasting colors for text to make it stand out against the background. For example, white text on a dark background or black text on a light background.
Tips for Aligning and Spacing Text
- Use a Level: Ensure your text is straight.
- Spacing: Maintain consistent spacing between letters and lines.
- Alignment: Center-align text for a balanced look.
V. Adding Graphics to Your Mural
Types of Graphics
- Photos: High-resolution images for a realistic look.
- Illustrations: Custom drawings or vector art.
- Patterns: Repeating designs like geometric shapes or floral motifs.
Ensuring High-Resolution Images
Use images with a resolution of at least 300 DPI (dots per inch) to ensure clarity and sharpness. Low-resolution images can appear pixelated when enlarged.
Using Design Tools
Design software like Adobe Illustrator or Canva can help you create or edit graphics. These tools offer templates and design elements to enhance your mural.
VI. Combining Text and Graphics
Balancing Text and Graphics
Ensure a harmonious balance between text and graphics. Avoid overcrowding the mural with too much text or too many images. Aim for a visually appealing composition.
Layering Techniques
Use layering techniques to integrate text and graphics seamlessly. For example, place text over a semi-transparent graphic background to create depth.
Examples of Effective Combinations
- Inspirational Quotes: Combine motivational text with serene nature images.
- Cityscapes: Overlay city names or coordinates on skyline photos.
- Children’s Rooms: Pair playful text with cartoon illustrations.
VII. Preparing Your Wall for Installation
Cleaning and Prepping the Wall Surface
- Clean the Wall: Use a damp cloth to remove dust and dirt.
- Dry the Wall: Ensure the wall is completely dry before application.
- Smooth the Surface: Fill in any holes or cracks for a smooth finish.
Tools Needed for Installation
- Squeegee: To smooth out bubbles.
- Level: To ensure straight alignment.
- Tape: To hold the mural in place during installation.
Tips for Avoiding Common Mistakes
- Avoid Textured Walls: Peel and stick murals adhere best to smooth surfaces.
- Check for Moisture: Ensure the wall is dry to prevent peeling.
- Plan Layout: Lay out the mural panels on the floor before applying to the wall.
VIII. Step-by-Step Installation Guide
Laying Out the Mural Panels
Lay out the mural panels on the floor in the correct order. This helps you visualize the final look and ensures you have all the pieces.
Applying the First Panel
- Position the Panel: Align the top edge with the wall.
- Peel and Stick: Slowly peel off the backing and stick the panel to the wall.
- Smooth Out Bubbles: Use a squeegee to remove any air bubbles.
Smoothing Out Bubbles and Wrinkles
Work from the center outwards to smooth out bubbles and wrinkles. Use a squeegee or a credit ca important link rd wrapped in a cloth to avoid scratching the mural.
IX. Post-Installation Tips
Inspecting the Mural
Check the mural for any misalignments or bubbles. Make adjustments as needed by gently peeling back and repositioning the affected areas.
Maintaining and Cleaning Your Mural
-
- Dust Regularly: Use a soft cloth to remove dust.
- Spot Clean: Use a damp cloth for any stains. Avoid harsh chemicals.
Removing and Reusing Peel and Stick Murals
To remove, gently peel off the mural starting from a corner. If you plan to reuse it, keep the backing paper and store the mural flat.
X. Conclusion
Incorporating text and graphics into your peel and stick mural design can transform any space into a personalized masterpiece. By following the steps outlined in this article, you can create a visually stunning mural that reflects your style and personality. Experiment with different designs and share your creations with others.

Meet Hi there! I’m Jason Noon, a passionate Product Consultant specializing in mural design and customization. Welcome to MuralMoxie, where creativity meets craftsmanship. My journey into the world of murals began over a decade ago. I started as a graphic designer, but my love for large-scale art installations quickly took over.
