Peel and stick murals are a fantastic way to transform any space quickly and easily. They offer a versatile and cost-effective solution for adding personality and style to your walls. However, creating a balanced and visually appealing layout requires careful planning and execution. This article will guide you through the essential tips and steps to achieve a stunning mural that enhances your room’s aesthetics.
II. Understanding Peel and Stick Murals
Definition and Benefits
Peel and stick murals are large-scale wall decals that can be easily applied and removed without damaging the wall surface. They are made from high-quality vinyl or fabric materials and come in various designs, patterns, and sizes.
Benefits of peel and stick murals include:
- Easy Installation: No need for glue or paste.
- Removable and Reusable: Can be repositioned without leaving residue.
- Cost-Effective: Affordable way to update your decor.
- Versatile: Suitable for various surfaces and rooms.
Common Uses and Applications
Peel and stick murals are commonly used in:

- Living Rooms: To create a focal point or accent wall.
- Bedrooms: For a personalized and cozy atmosphere.
- Offices: To add a professional and inspiring touch.
- Kids’ Rooms: For fun and playful designs.
III. Planning Your Mural Layout
Assessing the Space and Wall Dimensions
Before you start, measure the wall where you plan to install the mural. Consider the height and width to ensure the mural fits perfectly. Use a tape measure and note down the dimensions.
Choosing the Right Design and Theme
Select a design that complements your room’s style and theme. Consider the following:
- Nature Scenes: For a calming effect.
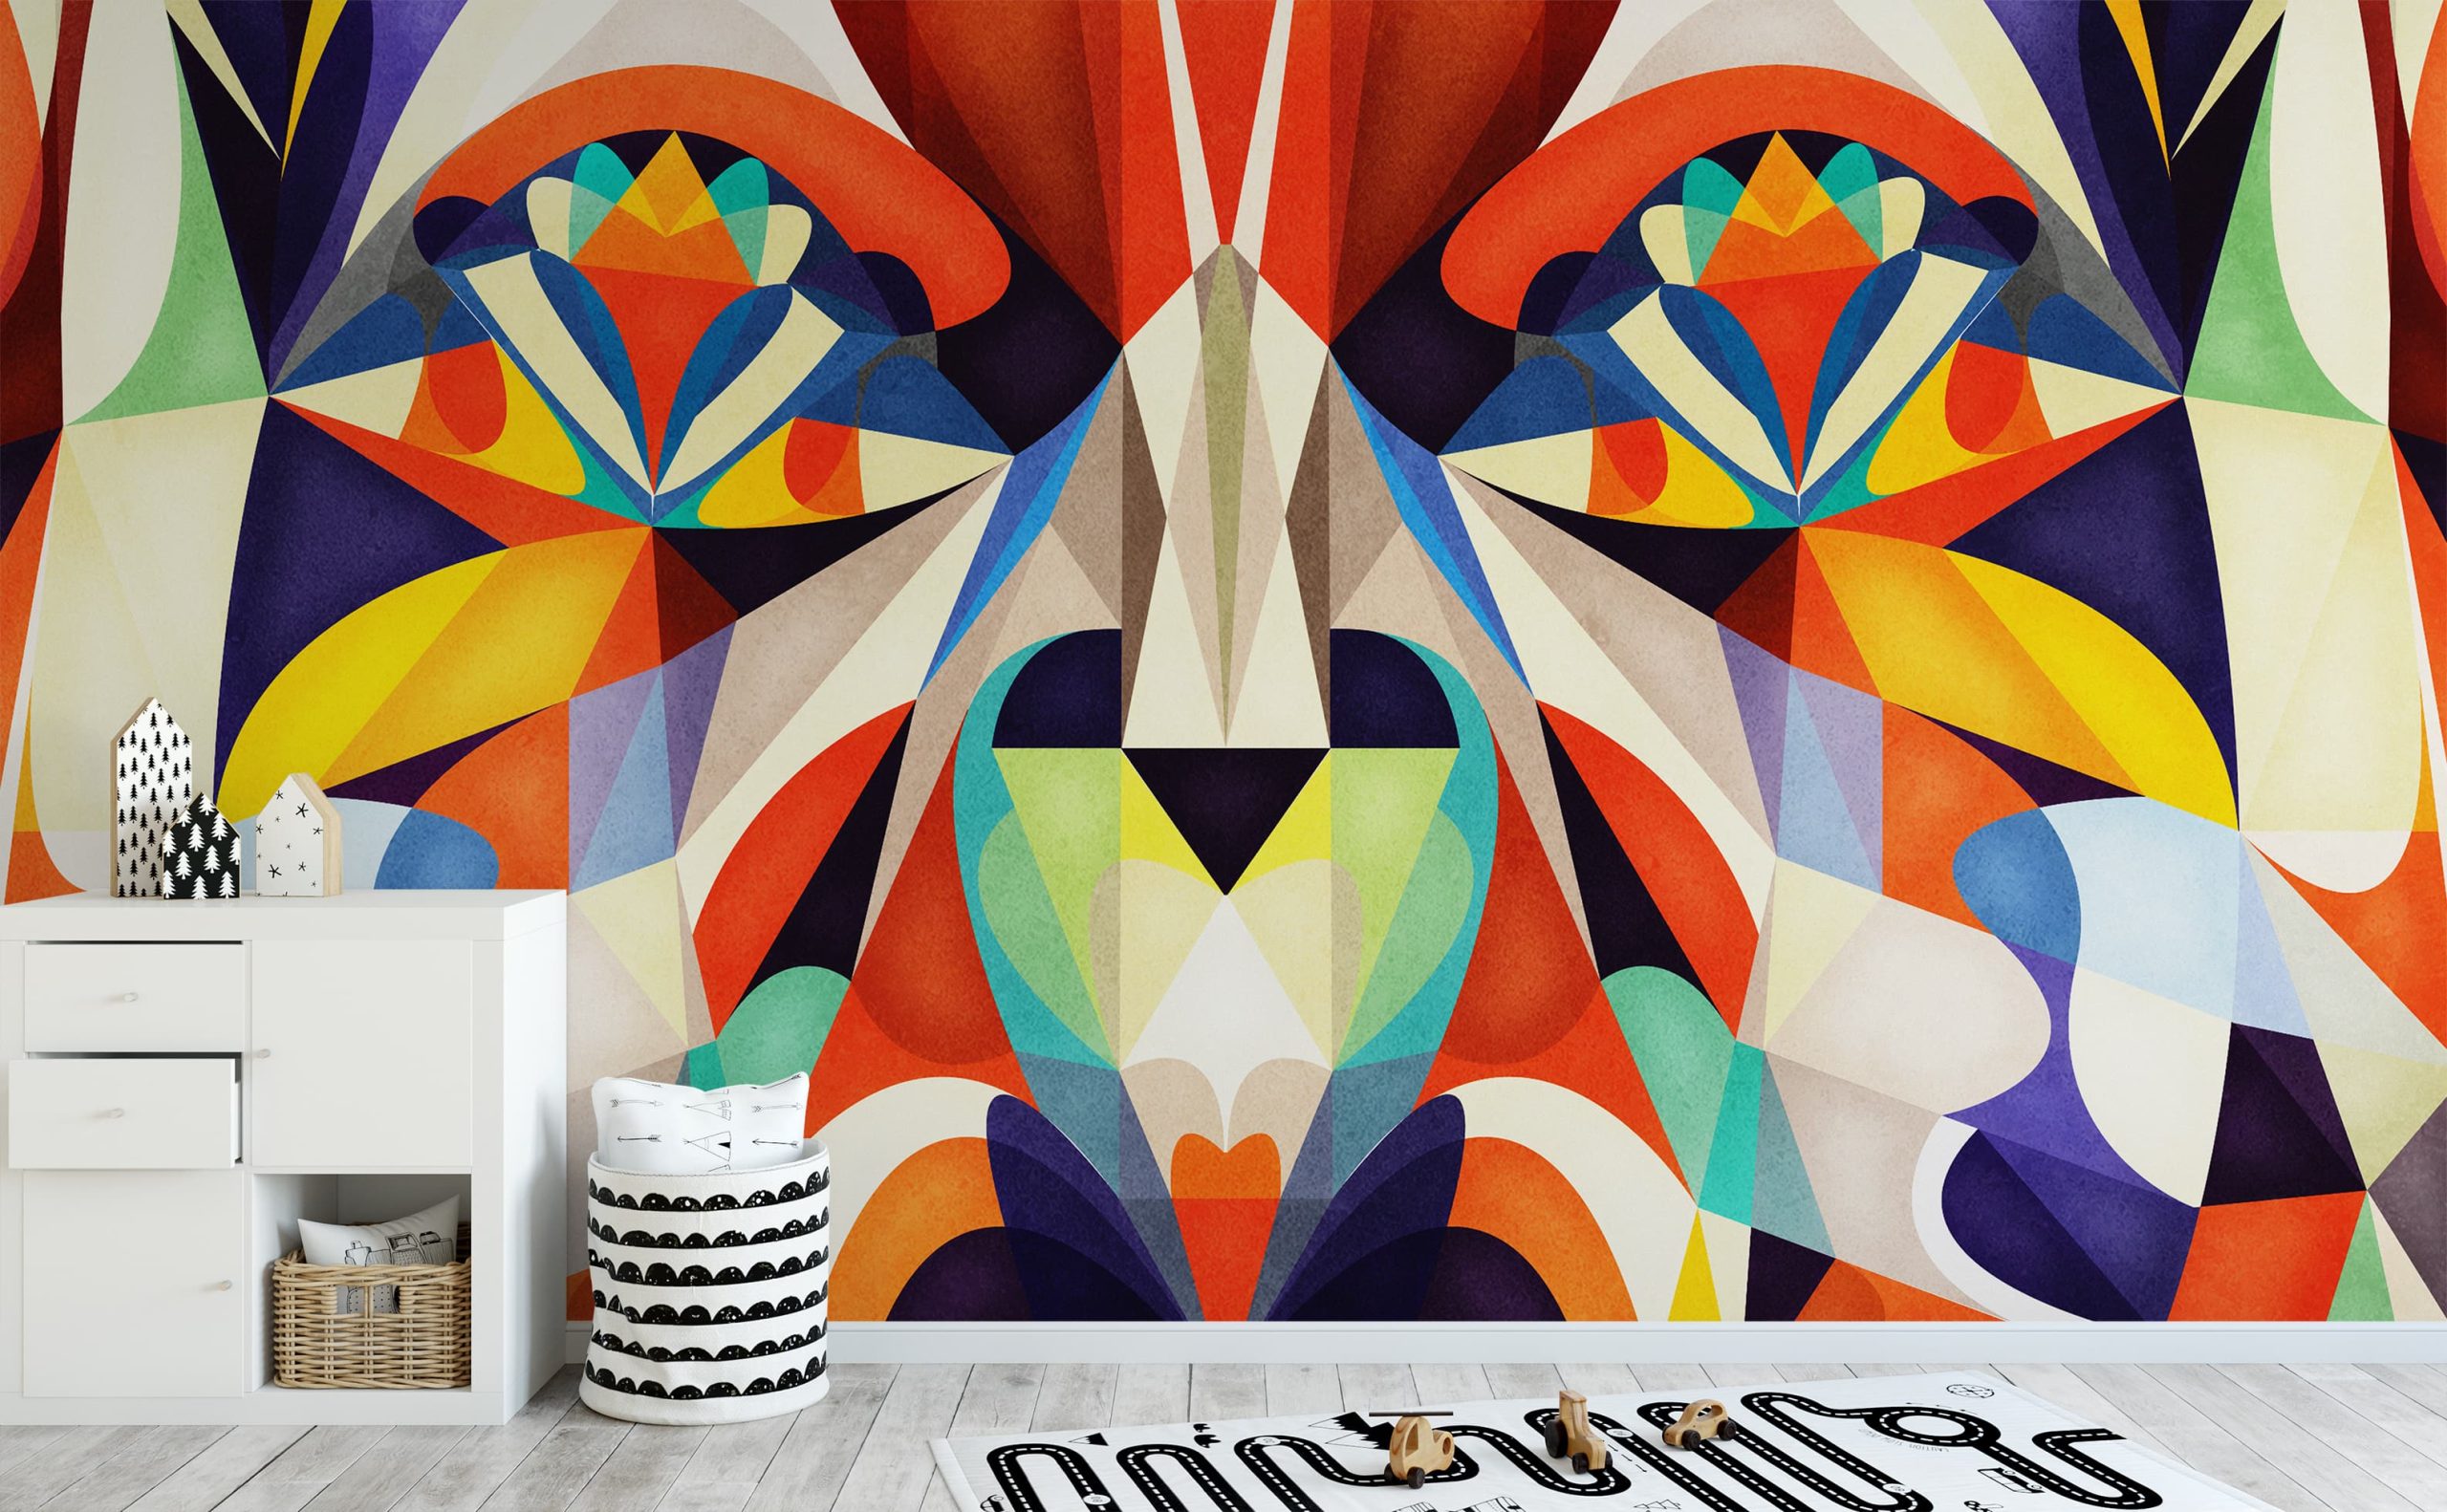
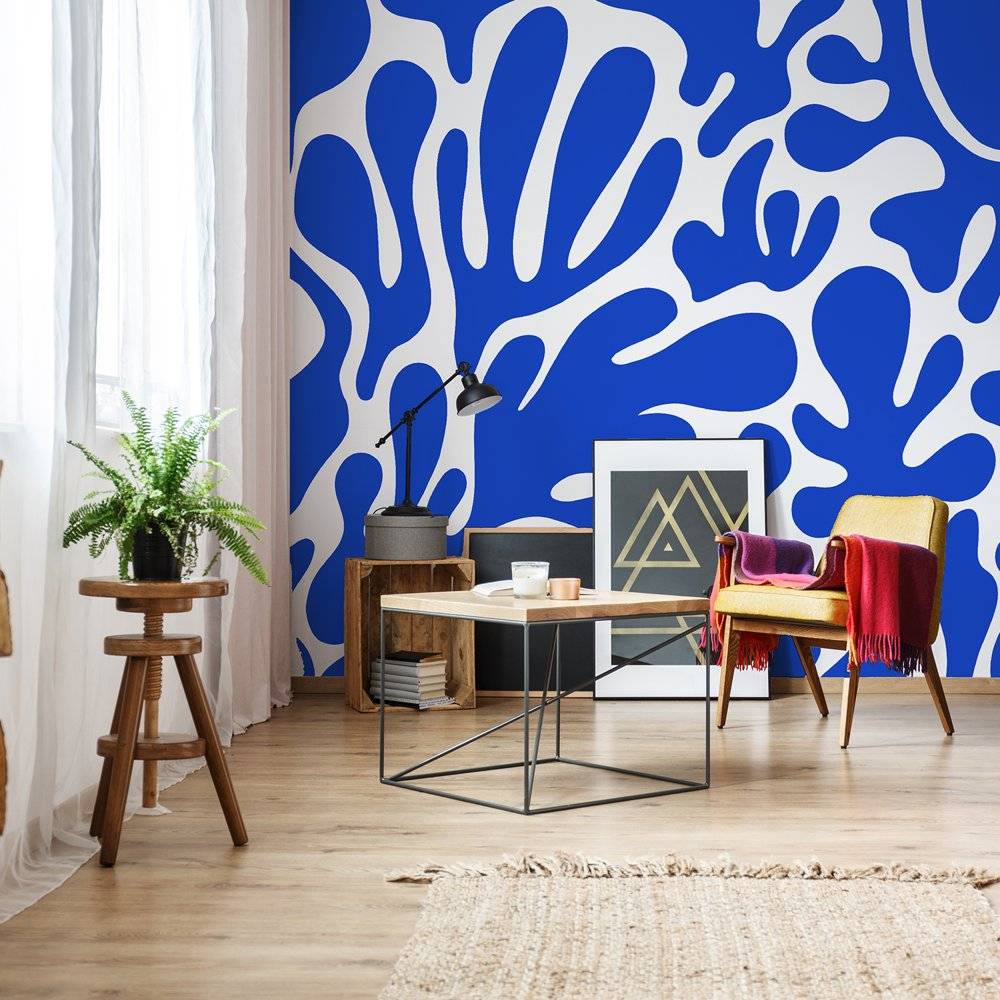
- Abstract Art: For a modern and chic look.
- Cityscapes: For an urban and dynamic feel.
- Custom Designs: For a unique and personalized touch.
Considering the Room’s Existing De address cor and Color Scheme
Ensure the mural’s colors and patterns harmonize with the existing decor. Use a color wheel to find complementary colors and avoid clashing hues.
IV. Preparing the Wall
Cleaning and Priming the Wall Surface
A clean and smooth wall surface is crucial for a successful mural installation. Follow these steps:
- Clean the Wall: Use a mild detergent and water to remove dirt and grease.
- Dry the Wall: Ensure the wall is completely dry before proceeding.
- Prime the Wall: Apply a primer if the wall is newly painted or has a rough texture.
Ensuring the Wall is Smooth and Free of Texture
Inspect the wall for any bumps or imperfections. Sand down rough areas and fill in holes or cracks with spackle. A smooth surface ensures better adhesion and a flawless finish.
V. Designing a Balanced Layout
Using the Rule of Thirds for Visual Balance
The rule of thirds is a design principle that divides the wall into nine equal parts using two horizontal and two vertical lines. Place key elements along these lines or at their intersections to create a balanced and visually appealing layout.
Incorporating Focal Points and Visual Hierarchy
Identify a focal point in your mural, such as a central image or pattern. Arrange other elements around this focal point to guide the viewer’s eye and create a sense of hierarchy.
Balancing Colors and Patterns
Use a mix of colors and patterns to add depth and interest to your mural. Balance bold and neutral tones to avoid overwhelming the space. Consider the following tips:
- Contrast: Use contrasting colors to highlight key areas.
- Harmony: Ensure colors and patterns complement each other.
- Proportion: Maintain a balance between large and small patterns.
VI. Installing the Mural
Step-by-Step Installation Guide
Follow these steps for a smooth installation:
- Plan the Layout: Lay out the mural panels on the floor to visualize the final look.
- Mark the Wall: Use a pencil and level to mark the top and sides of the mural on the wall.
- Peel and Stick: Start from the top corner and peel off the backing paper. Stick the mural to the wall, smoothing out bubbles and wrinkles as you go.
- Trim Excess: Use a utility knife to trim any excess material along the edges.
Tips for Avoiding Bubbles and Wrinkles
- Work Slowly: Apply the mural gradually, smoothing out bubbles with a squeegee or credit card.
- Use a Level: Ensure each panel is straight and aligned with the previous one.
- Reposition if Needed: Peel off and reposition the mural if you notice any misalignment.
Adjusting and Repositioning Panels as Needed
If you need to adjust the mural, gently peel it off and reposition it. Most peel and stick murals are designed to be repositionable without losing adhesion.
VII. Enhancing Visual Appeal
Adding Complementary Decor Elements
Enhance your mural by adding complementary decor elements such as:
- Framed Art: Hang artwork that complements the mural’s theme.
- Shelves: Install floating shelves to display decorative items.
- Plants: Add greenery to bring life and freshness to the space.
Using Lighting to Highlight the Mural
Proper lighting can enhance the visual impact of your mural. Consider the following options:
-
- Spotlights: Use adjustable spotlights to highlight specific areas.
- Ambient Lighting: Install soft, ambient lighting to create a cozy atmosphere.
- Natural Light: Position the mural to take advantage of natural light sources.
Incorporating Interactive or Dynamic Elements
Make your mural more engaging by incorporating interactive or dynamic elements such as:
- Chalkboard Sections: Add a chalkboard section for notes and drawings.
- Magnetic Panels: Use magnetic panels to display photos and mementos.
- 3D Elements: Incorporate 3D elements like wall sculptures or decals.
VIII. Maintaining Your Mural
Cleaning and Care Tips
Keep your mural looking fresh with these cleaning tips:
- Dust Regularly: Use a soft cloth or duster to remove dust.
- Spot Clean: Wipe away stains with a damp cloth and mild detergent.
- Avoid Harsh Chemicals: Do not use abrasive cleaners or solvents.
Handling Repairs and Replacements
If your mural gets damaged, follow these steps for repairs:
- Patch Small Tears: Use a small piece of matching material to patch tears.
- Replace Panels: If a panel is beyond repair, replace it with a new one.
- Reapply Adhesive: Use a spray adhesive if the mural starts to peel off.
IX. Common Mistakes to Avoid
Overcrowding with Excessive Styling or Visuals
Avoid overcrowding your mural with too many elements. Keep the design simple and focused to maintain visual balance.
Ignoring Wall Preparation Steps
Skipping wall preparation can lead to poor adhesion and a less-than-perfect finish. Always clean, dry, and prime the wall before installation.
Choosing Incompatible Designs or Colors
Ensure the mural design and colors complement your room’s decor. Avoid clashing patterns and hues that can create a chaotic look.
X. Conclusion
Creating a balanced and visually appealing peel and stick mural layout requires careful planning and attention to detail. By following the tips outlined in this article, you can achieve a stunning mural that enhances your space and reflects your personal style. Don’t be afraid to experiment and make the space your own. Start your mural project today and transform your room into a work of art!

Meet Hi there! I’m Jason Noon, a passionate Product Consultant specializing in mural design and customization. Welcome to MuralMoxie, where creativity meets craftsmanship. My journey into the world of murals began over a decade ago. I started as a graphic designer, but my love for large-scale art installations quickly took over.


